readme.md (1355B)
- # rm_numpad
- 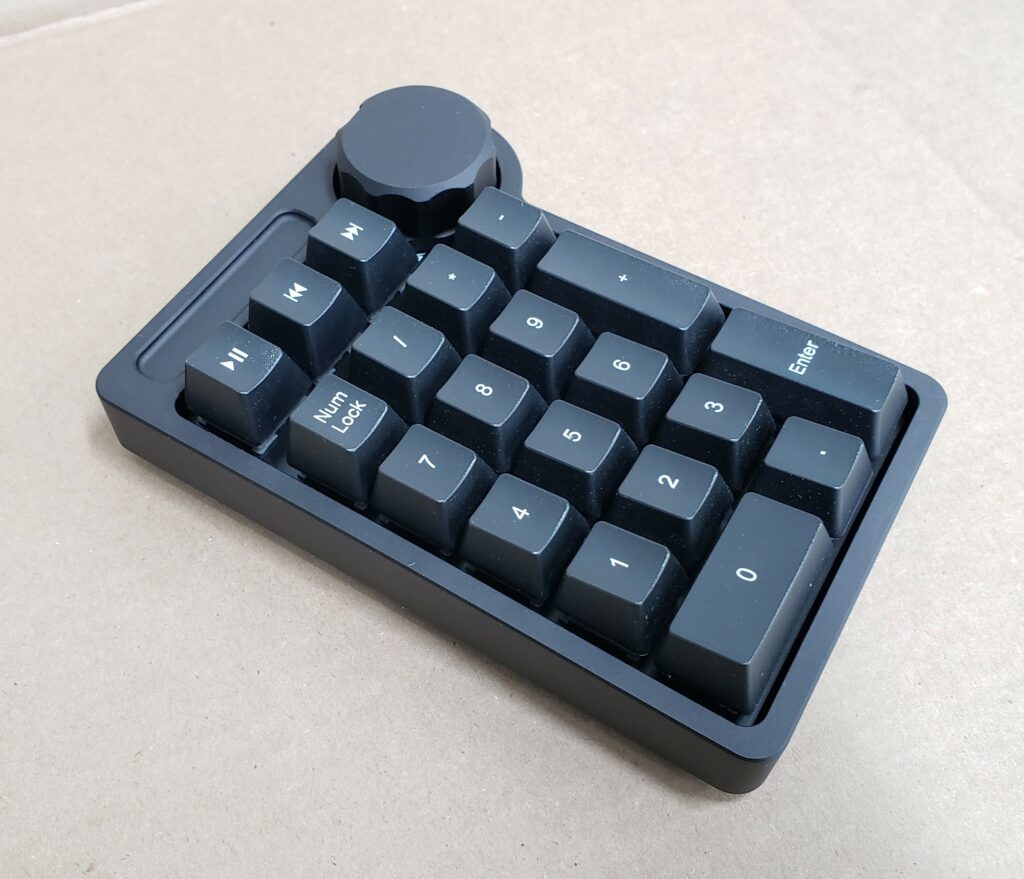
- A simple numpad with the addition of a few features:
- * A few additional buttons. The default keymap has these set to "Pause", "Previous Track", and "Next Track"
- * A knob. The default keymap has this knob configured to change volume, and clicking the knob is set to "Mute"
- * 1u or 2u key options. The "0" key, "+" key, and "Enter" key can be built out using 2u keys, like a normal numpad, or they can be built out using 2x 1u keys.
- * Keyboard Maintainer: [RuckerMachine](https://github.com/RuckerMachine)
- * Hardware Supported: RM Keebs RM Numpad kits available at [RMKeebs](https://www.rmkeebs.com/product/rm-numpad/)
- ## Bootloader
- Enter the bootloader by briefly pressing the reset button on the back of the PCB. A hole in the back of the case gives you access to the button.
- Make example for this keyboard (after setting up your build environment):
- make rmkeebs/rm_numpad:default
- Flashing example for this keyboard:
- make rmkeebs/rm_numpad:default:flash
- See the [build environment setup](https://docs.qmk.fm/#/getting_started_build_tools) and the [make instructions](https://docs.qmk.fm/#/getting_started_make_guide) for more information. Brand new to QMK? Start with our [Complete Newbs Guide](https://docs.qmk.fm/#/newbs).