readme.md (2315B)
- # 3dfoxc
- 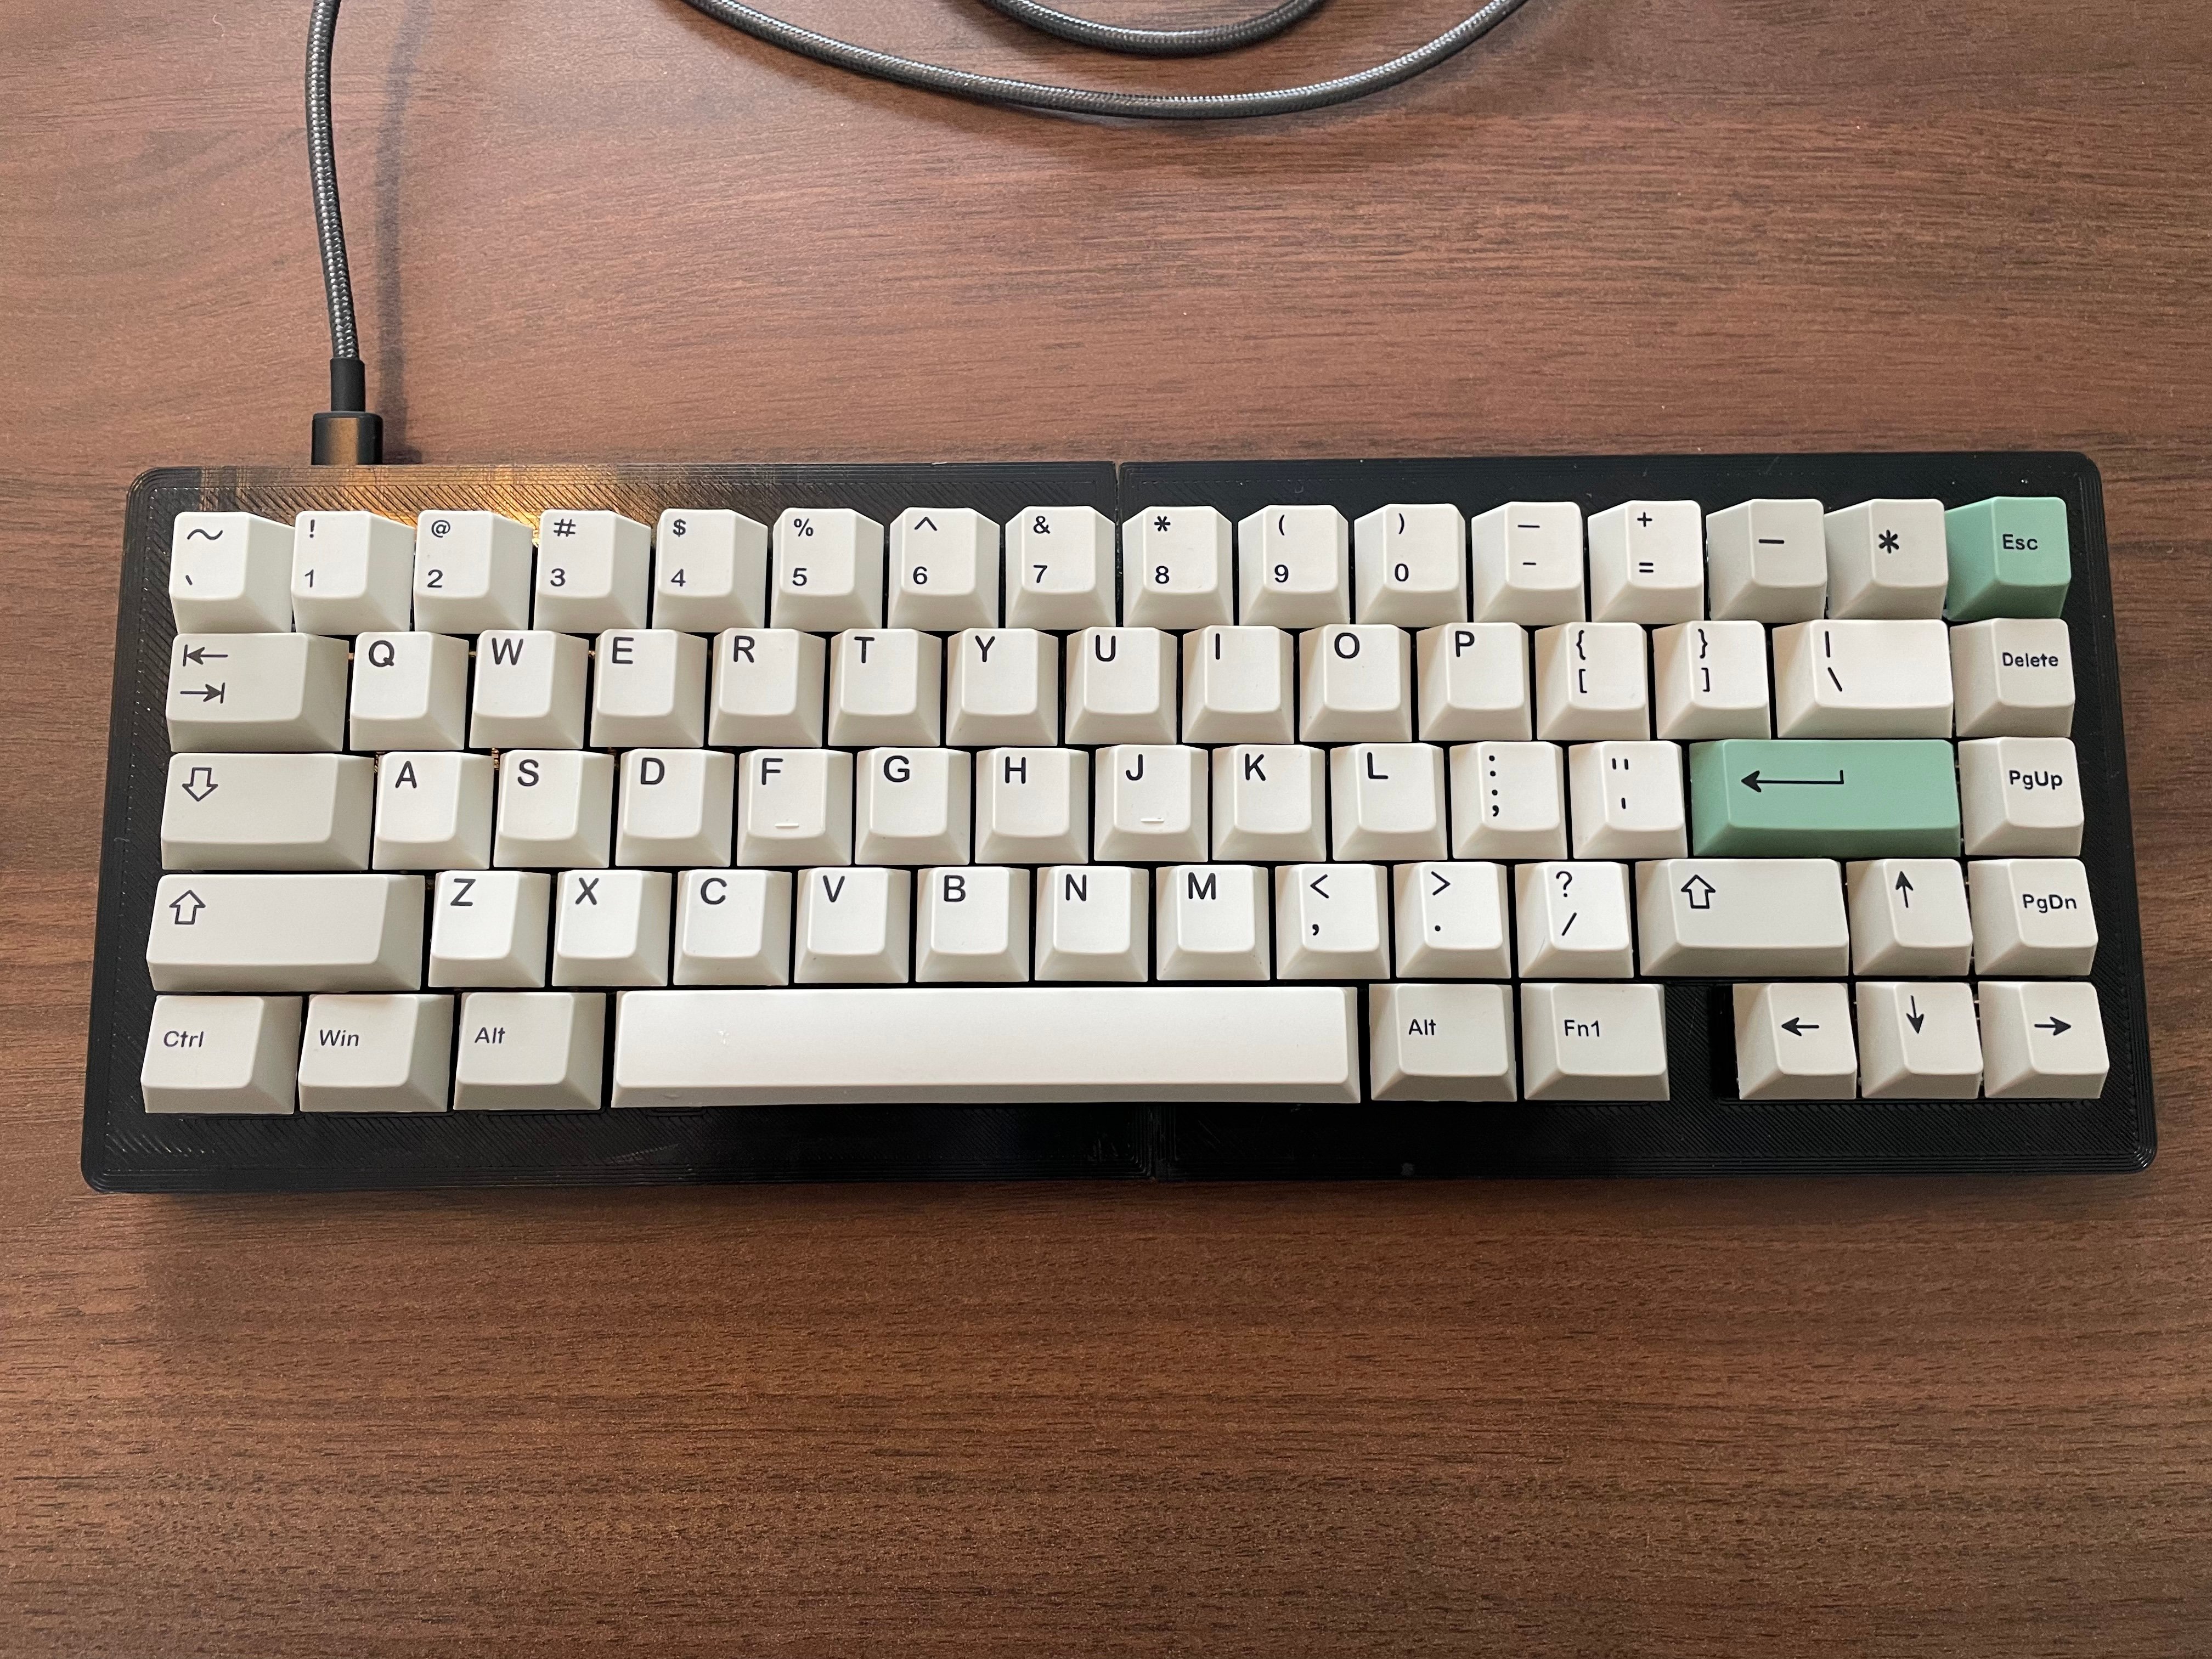
- A [3d-printed whitefox](https://www.thingiverse.com/thing:2952008) with an Elite-C microcontroller.
- This is a build of [matt3o's "How to Build a Custom Keyboard" guide](https://matt3o.com/book/), except that I have replaced the Teensy with an [Elite-C v4](https://keeb.io/products/elite-c-low-profile-version-usb-c-pro-micro-replacement-atmega32u4). Presumably you could replace it with anything compatible. The USB-C port had to be enlarged with dremel, and the mount for the Teensy was ground off and replaced with everyone's favorite rapid modeling polymer ... hot glue.
- * Keyboard Maintainer: [david l goodrich](mailto:dlg@dsrw.org)
- * Hardware Supported:
- * [3d-printed whitefox](https://www.thingiverse.com/thing:2952008)
- * Elite-C microcontroller
- * Hardware Availability: [keebio](https://keeb.io/products/elite-c-low-profile-version-usb-c-pro-micro-replacement-atmega32u4), [1up](https://1upkeyboards.com/shop/controllers/elite-c-v4-controller/), [keyhive](https://keyhive.xyz/shop/elite-c), [splitkb](https://splitkb.com/products/elite-c-low-profile-rev4-microcontroller)
- ## Wiring
- Badly, because I have never done this before. Build pics available upon request, I guess.
- 
- ## Flashing
- Make example for this keyboard (after setting up your build environment):
- make handwired/3dfoxc:default
- Flashing example for this keyboard (use the `dfu` target for the Elite-C!):
- make handwired/3dfoxc:default:dfu
- See the [build environment setup](https://docs.qmk.fm/#/getting_started_build_tools) and the [make instructions](https://docs.qmk.fm/#/getting_started_make_guide) for more information. Brand new to QMK? Start with our [Complete Newbs Guide](https://docs.qmk.fm/#/newbs).
- ## Bootloader
- Enter the bootloader in 3 ways:
- * **Bootmagic reset**: Hold down the key at (0,0) in the matrix (usually the top left key or Escape) and plug in the keyboard
- * **Physical reset button**: Briefly press the button on the back of the PCB - some may have pads you must short instead
- * **Keycode in layout**: Press the key mapped to `QK_BOOT` if it is available