readme.md (1593B)
- # hackpad
- 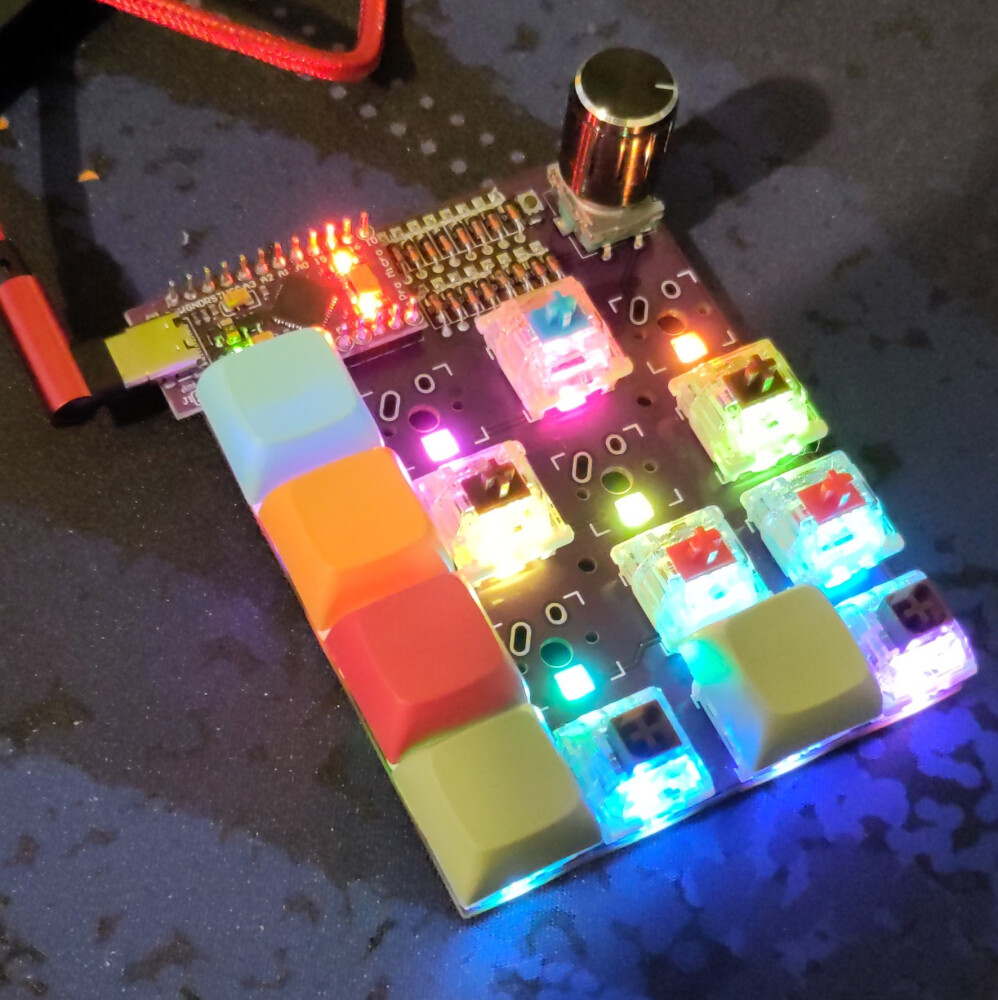
- The `Hackpad` is a 4x4 numpad/macropad designed for the Arduino Day 2023 in Bayreuth in cooperation with the hackspace [Imaginärraum e.V.](imaginaerraum.de) and [Fablab-Bayreuth e.V.](fablab-bayreuth.de).
- It supports 16 MX-style switches, an EC-11 rotary encoder, and per key RGB LEDs based on SK6812.
- In v0.2 all necessary components are through hole components (except for an optional reset switch and RGB-LEDs), but the ProMicro protrudes out of the case.
- In v0.3 this is fixed by moving some diodes to the bottom side. The bottom diodes however are SMD only.
- * Keyboard Maintainer: [Nico Stuhlmueller](https://github.com/ThePurox)
- * Hardware Supported: ProMicro is supported in v0.2 and v0.3 of the PCBs
- * Hardware Availability: PCBs can be found [here](https://git.imaginaerraum.de/Purox/Hackpad)
- Make example for this keyboard (after setting up your build environment):
- make hackpad:default
- Flashing example for this keyboard:
- make hackpad:default:flash
- See the [build environment setup](https://docs.qmk.fm/#/getting_started_build_tools) and the [make instructions](https://docs.qmk.fm/#/getting_started_make_guide) for more information. Brand new to QMK? Start with our [Complete Newbs Guide](https://docs.qmk.fm/#/newbs).
- ## Bootloader
- Enter the bootloader in 2 ways:
- * **Physical reset button**: Briefly press the button on the top of the PCB - some may have pads you must short instead
- * **Keycode in layout**: Press the key mapped to `QK_BOOT` if it is available