readme.md (6583B)
- # cKeys Handwire 101 Workshop
- 
- ## Slides
- Slides can be found at: https://ckeys.org/slides/handwire/
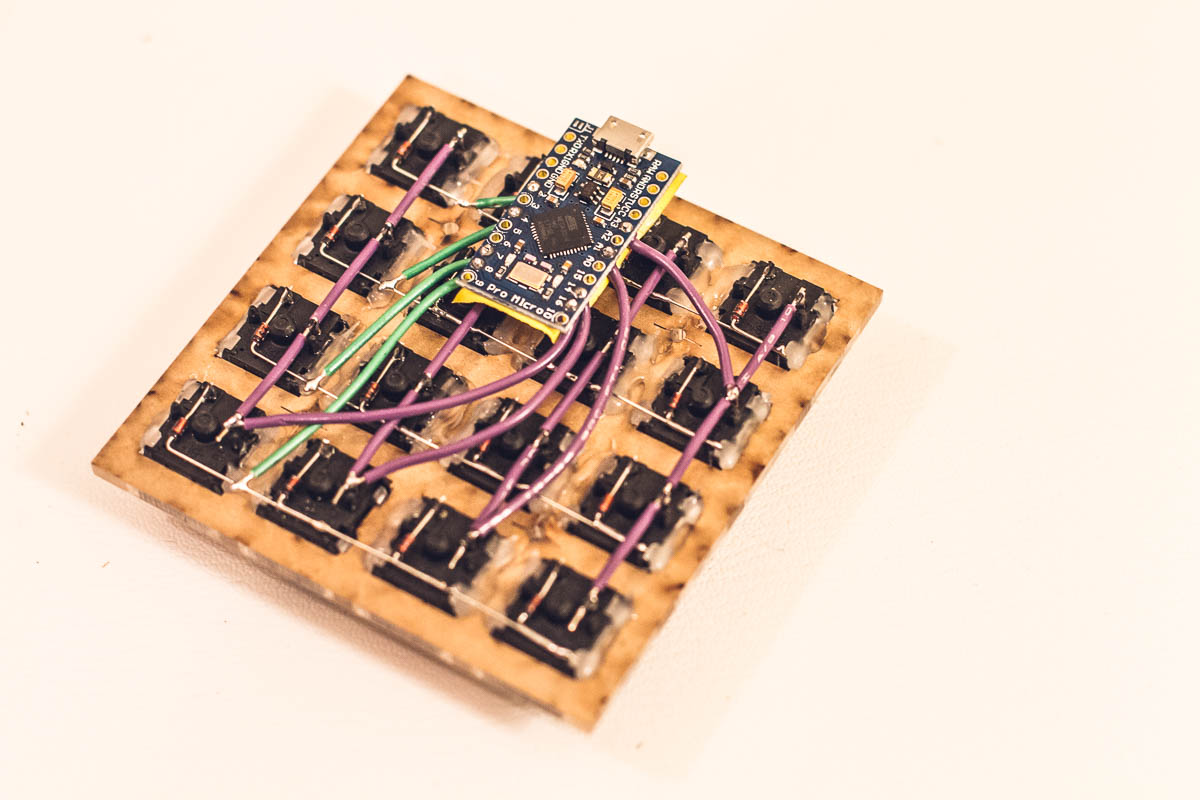
- ## Case Design
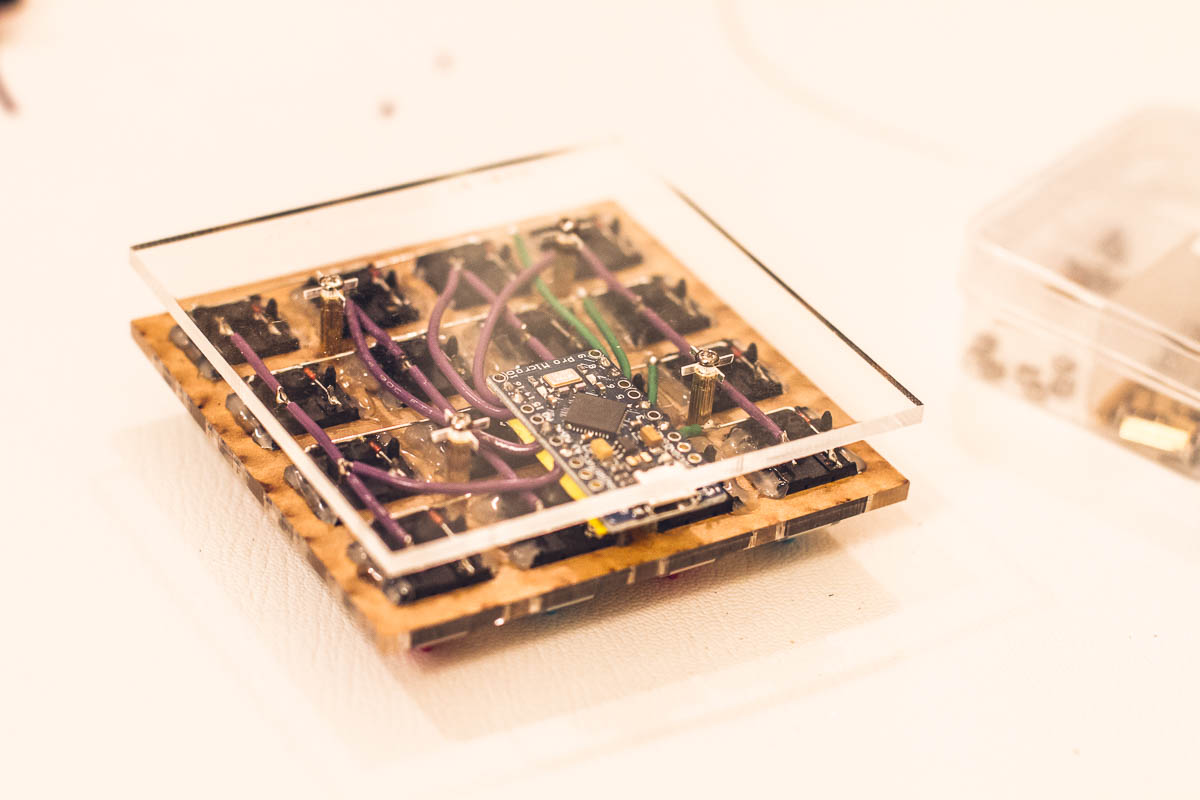
- The laser cutting file is ideal for Ponoko's P1 board size.
- ## Firmware
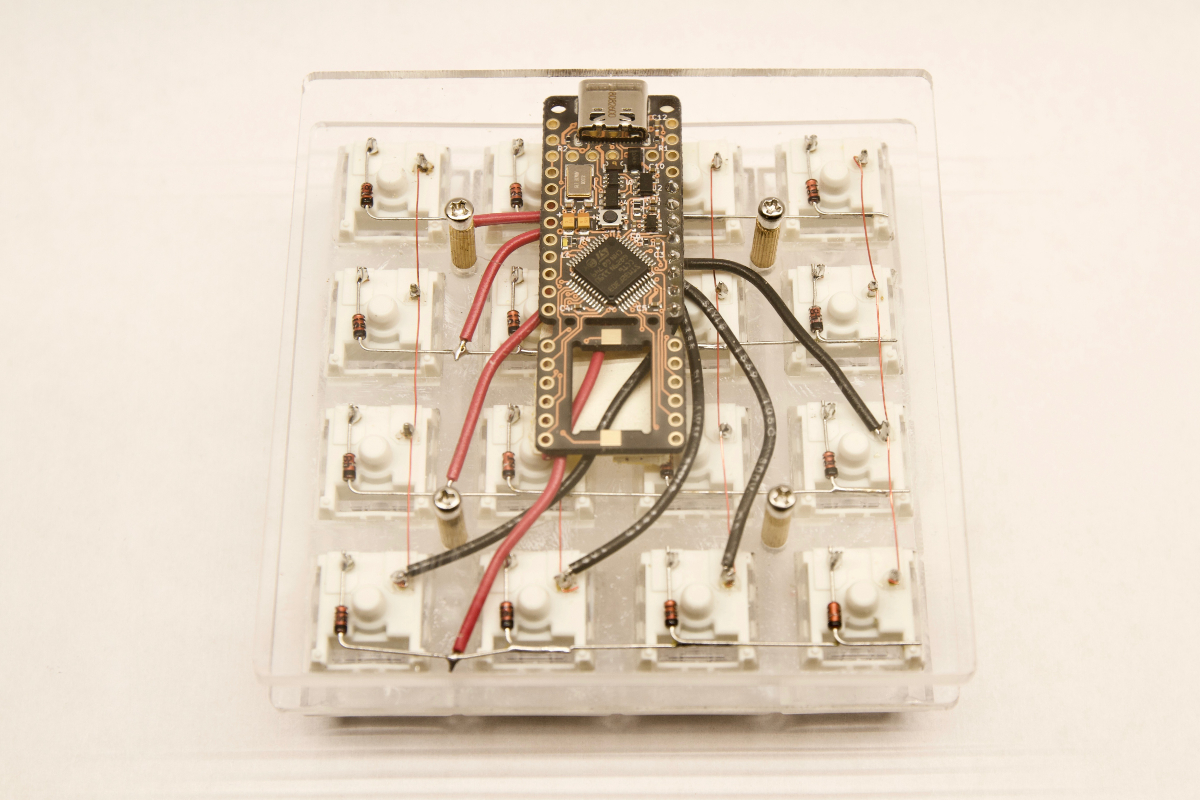
- If you want to reflash the pre-installed firmware, use the `.bin` file for Proton C and the `.hex` file for Pro Micro builds. Flash with the QMK Toolbox or via the command line.
- Building for Proton C: `make ckeys/handwire_101:default CONVERT_TO=proton_c`
- Building for Pro Micro: `make ckeys/handwire_101:default`
- Pre-built firmware files (and laser cutting case files) can be found here: https://github.com/c-keys/handwire
- ## Default Layout
- You can find the default layout in `qmk-handwire/keymaps/default/keymap.c`
- ### Layers
- When you plug in your keyboard, it will function as a numpad. You will remain in the `Base` numpad layer unless you hold down the top right corner key and select one of the keys in the left most column. In QMK, this is called a momentary switch and looks like `MO(LAYERS)` in the default `keymap.c`. You can read more about layer switching in the [QMK Documentation](https://beta.docs.qmk.fm/features/feature_advanced_keycodes#switching-and-toggling-layers).
- #### Base
- ```
- /* BASE (numpad)
- * ,-----------------------.
- * | 7 | 8 | 9 | / | <-- Hold for LAYERS
- * |-----+-----+-----+-----|
- * | 4 | 5 | 6 | * |
- * |-----+-----+-----+-----|
- * | 1 | 2 | 3 | - |
- * |-----+-----+-----+-----|
- * | 0 | . | = | + |
- * `---------------------- '
- */
- ```
- #### Layers
- ```
- /* LAYERS
- * ,---------------------------.
- * | MUSIC | | | X |
- * |---------+-----+-----+-----|
- * | MOUSE | | | |
- * |---------+-----+-----+-----|
- * |TERMINAL | | | |
- * |---------+-----+-----+-----|
- * | ADMIN | | | |
- * `---------------------------'
- */
- ```
- This is the layers layer. This is how you toggle other layers on and off. If you toggle on a layer, it is important that you re-toggle that layer offbefore switching to a new layer.
- #### Music
- ```
- /* MUSIC
- * ,-----------------------.
- * | X | | | X |
- * |-----+-----+-----+-----|
- * | | | |4EVER|
- * |-----+-----+-----+-----|
- * | OFF | | | |
- * |-----+-----+-----+-----|
- * | ON | | |MODES|
- * `---------------------- '
- */
- ```
- You can toggle the music mode on and off. You can also change the mode of music modes. Lastly, you can switch to the Music 4 Life mode but tapping the key marked `4EVER` above (see below). For more information on music mode, see the [QMK Documentation](https://beta.docs.qmk.fm/features/feature_audio).
- _NOTE: This layer will only make sounds if you install a speaker. At the time of this writing, you can get the Proton C specific piezo speaker for [$2.61 with free overnight shipping](https://www.arrow.com/en/products/ast1109mltrq/mallory-sonalert-products). You can solder it on by desoldering the row wires where they contact the cathode end of the diodes. Then flip over the Proton C and solder the piezo speaker in. Then re-solder the row wires and you should hear beeps and boops the next time you plug in your keyboard._
- #### Music 4 Life
- ```
- /* MUSIC_4_LIFE
- * ,-----------------------.
- * | ♫ | ♫ | ♫ | ♫ |
- * |-----+-----+-----+-----|
- * | ♫ | ♫ | ♫ | ♫ |
- * |-----+-----+-----+-----|
- * | ♫ | ♫ | ♫ | ♫ |
- * |-----+-----+-----+-----|
- * | ♫ | ♫ | ♫ | ♫ |
- * `---------------------- '
- */
- ```
- Music mode on every single key. However, you will need to unplug your keyboard in order to get out of this mode. The benefit of this is that you can use every single key as opposed to the few left over in the Music Mode layer. Try changing the chromatic mode before switching to this mode.
- #### Mouse
- ```
- /* MOUSE
- * ,-------------------------------------------------.
- * | BUTTON 5 | | SCROLL UP | X |
- * |-----------+-----------+------------+------------|
- * | X |LEFT CLICK | UP |RIGHT CLICK |
- * |-----------+-----------+------------+------------|
- * | BUTTON 4 | LEFT | DOWN | RIGHT |
- * |-----------+-----------+------------+------=-----|
- * | BUTTON 3 |SCROLL LEFT|SCROLL DOWN |SCROLL RIGHT|
- * `-------------------------------------------------'
- */
- ```
- Switch to this mode, force yourself through the steep transitionary period, and then you can ditch mice and trackpads forever!
- #### Terminal
- ```
- /* TERMINAL
- * ,---------------------------------------.
- * | |ABOUT| | X |
- * |------------+-----+----------+---------|
- * |TERMINAL OFF|PRINT| | |
- * |------------+-----+----------+---------|
- * | X |FLUSH| | |
- * |------------+-----+----------+---------|
- * |TERMINAL ON |HELP | | |
- * `--------=======------------------------'
- */
- ```
- This layer is not currently working but has been left as an example of how to write macros.
- #### Admin
- ```
- /* ADMIN
- * ,-----------------------------------------.
- * | QK_BOOT | | | X |
- * |------------+-----+-----------+----------|
- * |ABOUT CKEYS | | | |
- * |------------+-----+-----------+----------|
- * | | |CLICKY UP |CLICKY OFF|
- * |------------+-----+-----------+----------|
- * | X | |CLICKY DOWN|CLICKY ON |
- * `-----------------------------------------'
- */
- ```
- The most important key in this layer is the `QK_BOOT` switch. Use it to flash new firmware. It does the same thing as the hardware button on the Proton C. But since you soldered the Proton C with the reset button facing towards the keys, the only way to reach it is to de-solder wires. The reset switch solves this. Program a reset switch into all of your future keyboards.
- The `ABOUT CKEYS` is another example of using a macro. It will type out a few sentences about cKeys.
- The clicky buttons will only make a difference if you install a piezo speaker. If you install a speaker, then you can make your keyboard extra clicky sounding even if you did not install clicky switches.
- 
- 
- 
- 
-