readme.md (2259B)
- # Polyandry/polypad
- 
- ===
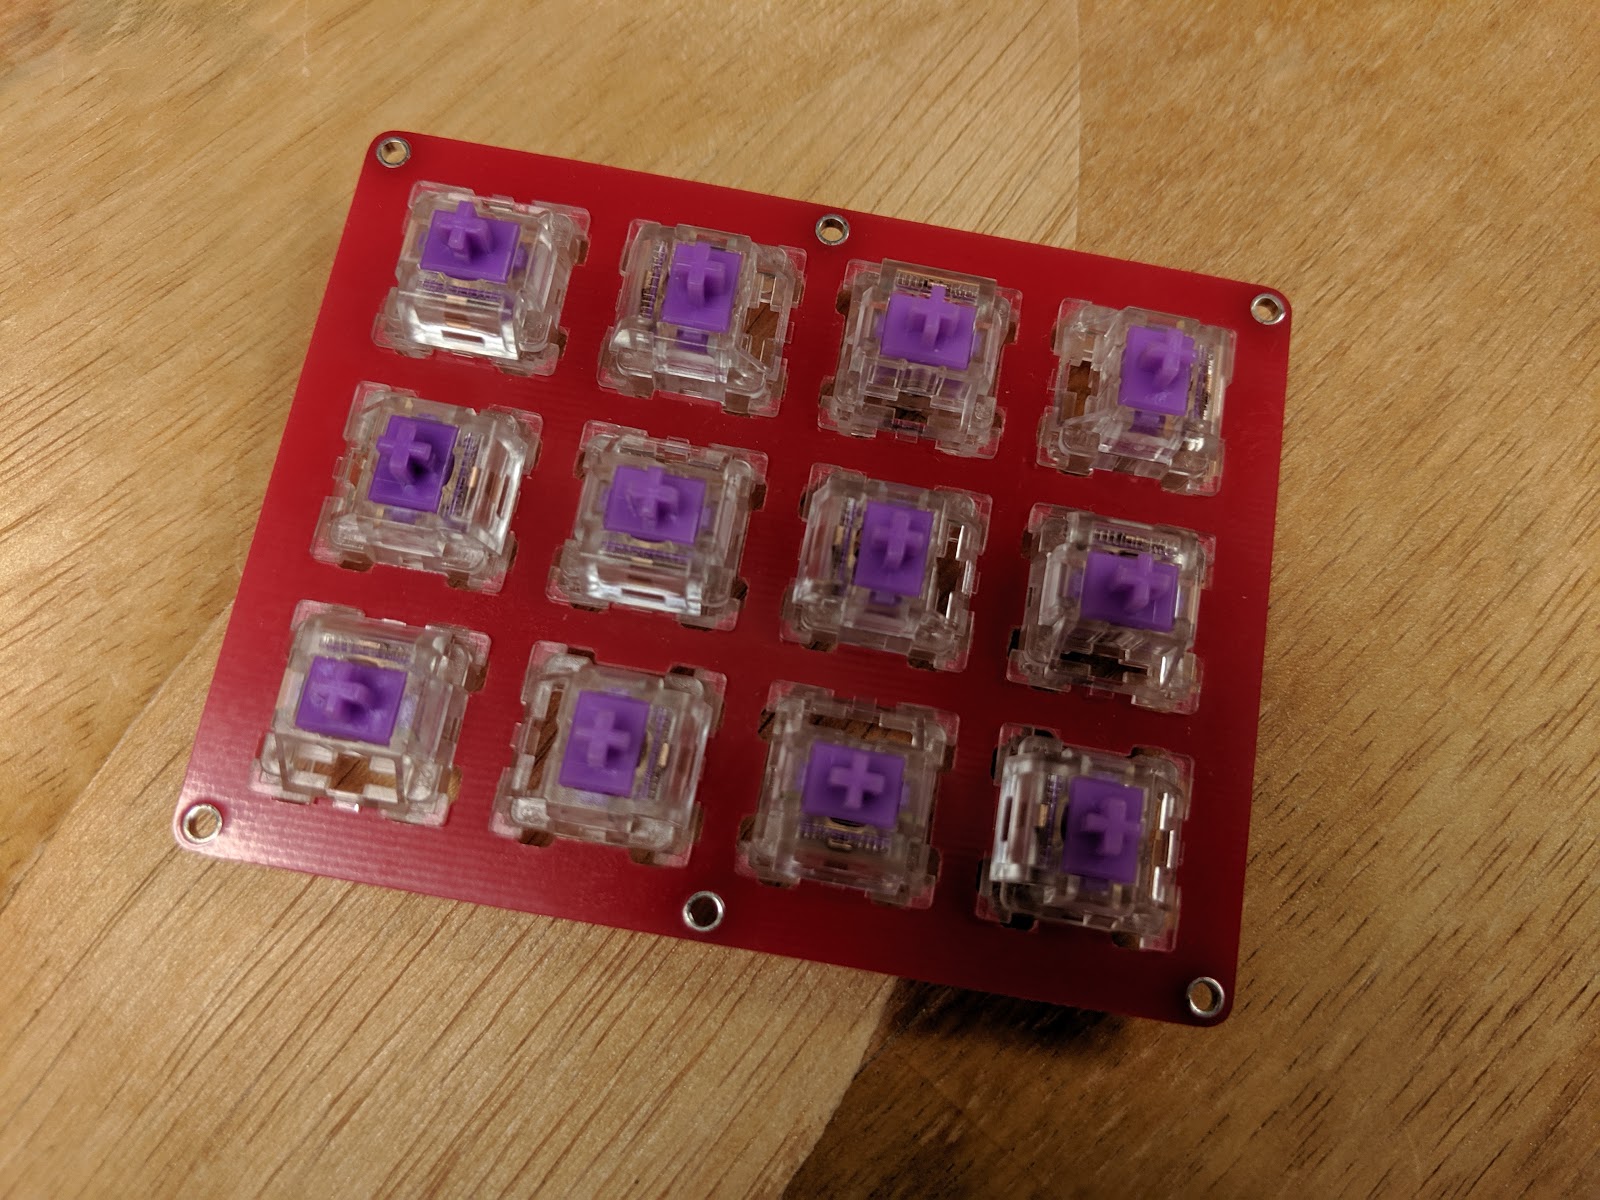
- 3x4/4x3 grid layout, multiple controllers supported
- - Pro Micro
- - PJRC Teensy 2.0
- (**The below are not currently ported:**)
- - PJRC Teensy LC/3.2
- - PJRC Teensy 3.5/3.6
- - Adafruit ItsyBitsy ATMega32u4
- - Adafruit ItsyBitsy M0
- - Adafruit ItsyBitsy M4
- The matrix is electrically 1x12 with no diodes, with a thirteenth pin used for the column rather than a ground in order to be compatible with all the listed microcontrollers..
- The default keymap is a testing keymap that is intended to make sure all of the keys on the matrix are working and properly assigned.
- [The original (minimal arduino sketch) firmware, with support for some unsupported controllers](https://git.40percent.club/di0ib/Misc/src/branch/master/polyandry)
- Keyboard Maintainer: QMK Community
- Hardware Supported: Polyandry PCB
- Hardware Availability: [Polyandry gerbers are on 40percent.club](https://www.40percent.club/2019/07/polyandry.html)
- Make example for this keyboard (after setting up your build environment):
- make 40percentclub/polyandry:default
- or
- qmk compile -kb 40percentclub/polyandry -km default
- Default firmware is for an Arduino Pro Micro knockoff.
- If you would like to specify a controller:
- make 40percentclub/polyandry/promicro:default
- or
- qmk compile -kb 40percentclub/polyandry/promicro -km default
- make 40percentclub/polyandry/teensy2:default
- or
- qmk compile -kb 40percentclub/polyandry/teensy2 -km default
- ## Bootloader
- Enter the bootloader in 3 ways:
- * **Bootmagic reset**: Hold down the top left key of the keyboard (top right or bottom left in horizontal configuration)
- * **Physical reset**: Briefly press the button on the bottom of the microcontroller or, if not present short the pin marked RST to a GND.
- * **Keycode in layout**: Press the key mapped to `QK_BOOT` if it is available
- See the [build environment setup](https://docs.qmk.fm/#/getting_started_build_tools) and the [make instructions](https://docs.qmk.fm/#/getting_started_make_guide) for more information. Brand new to QMK? Start with our [Complete Newbs Guide](https://docs.qmk.fm/#/newbs).