readme.md (1616B)
- # 3W6
- 
- 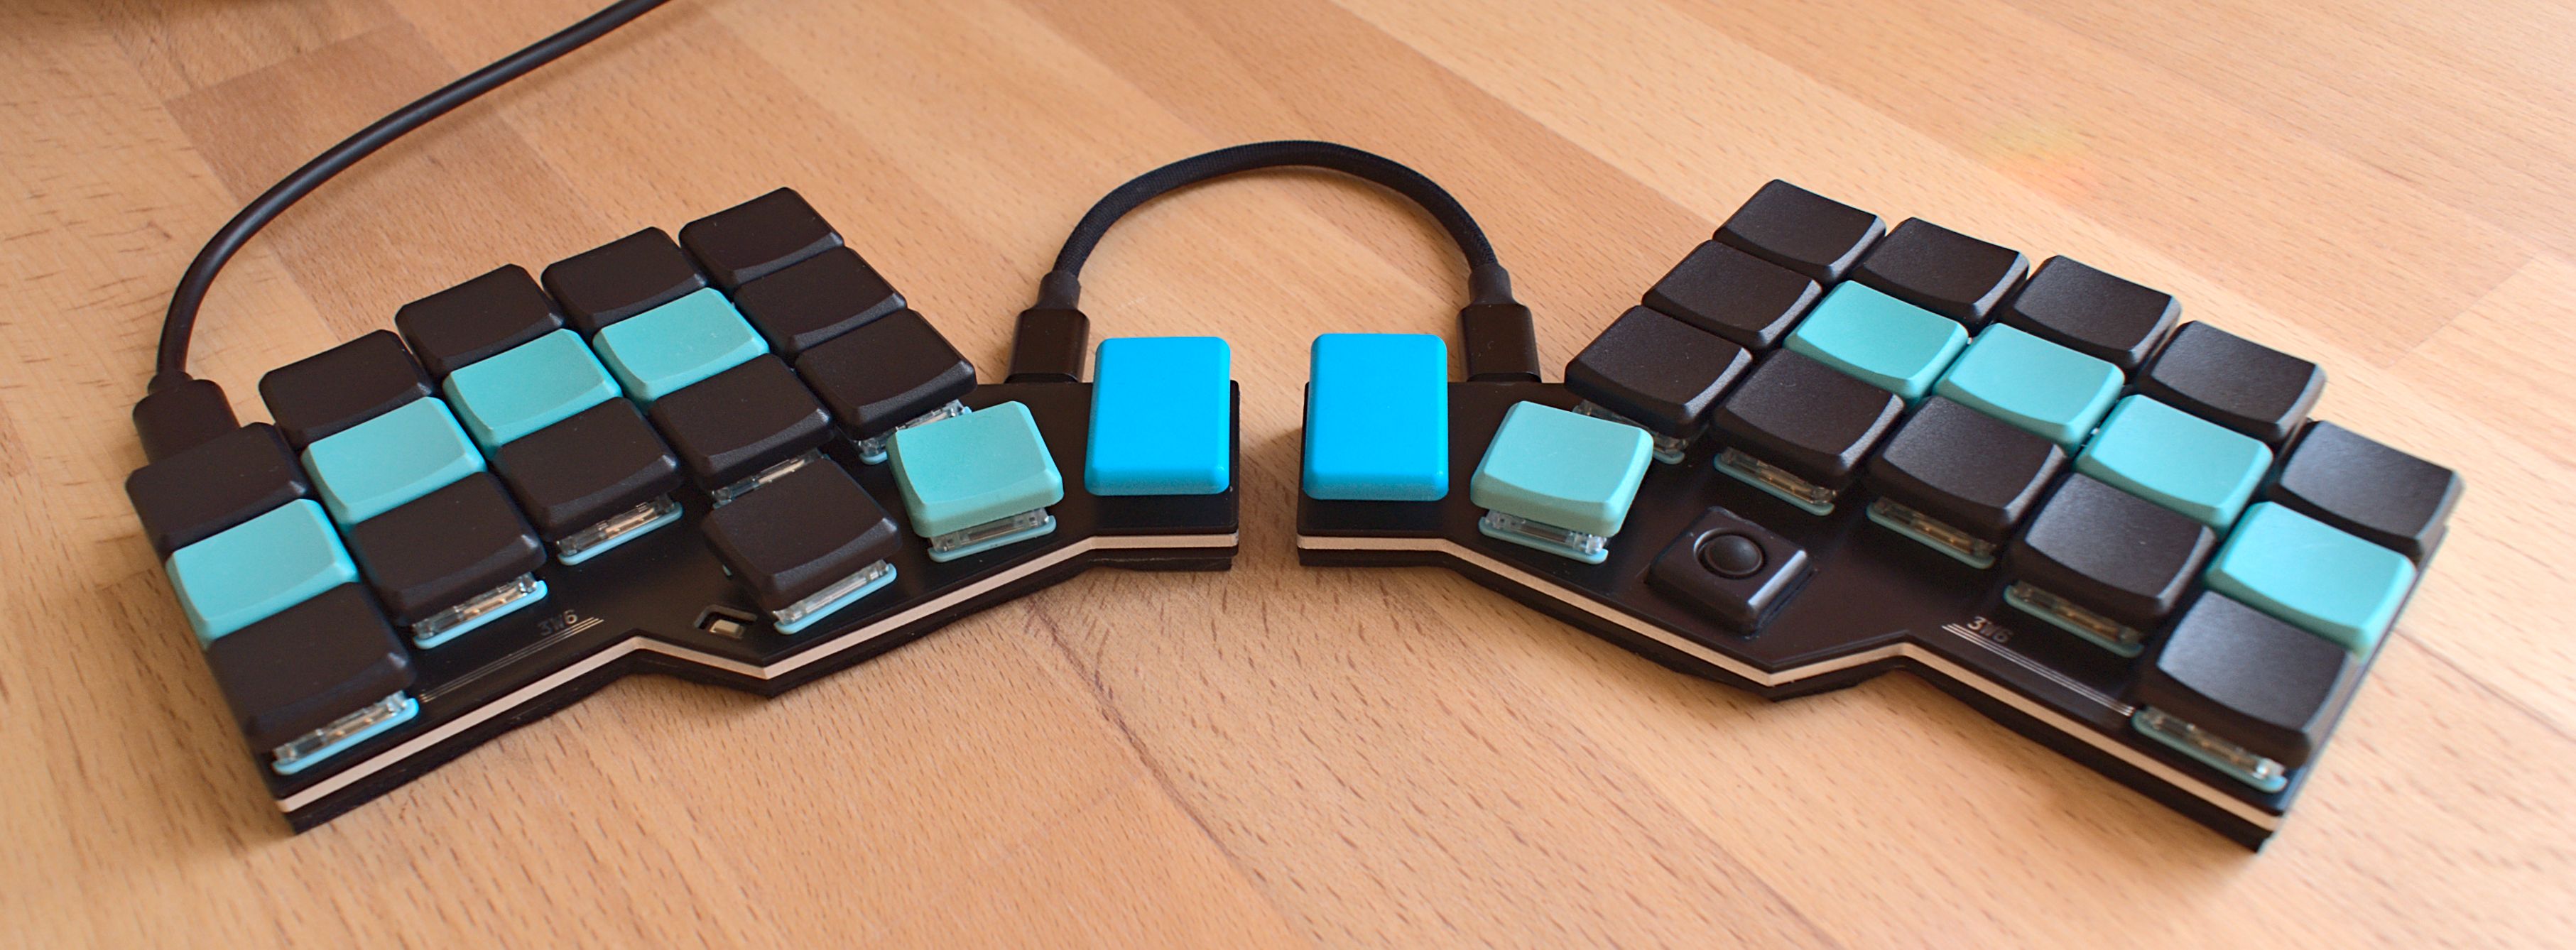
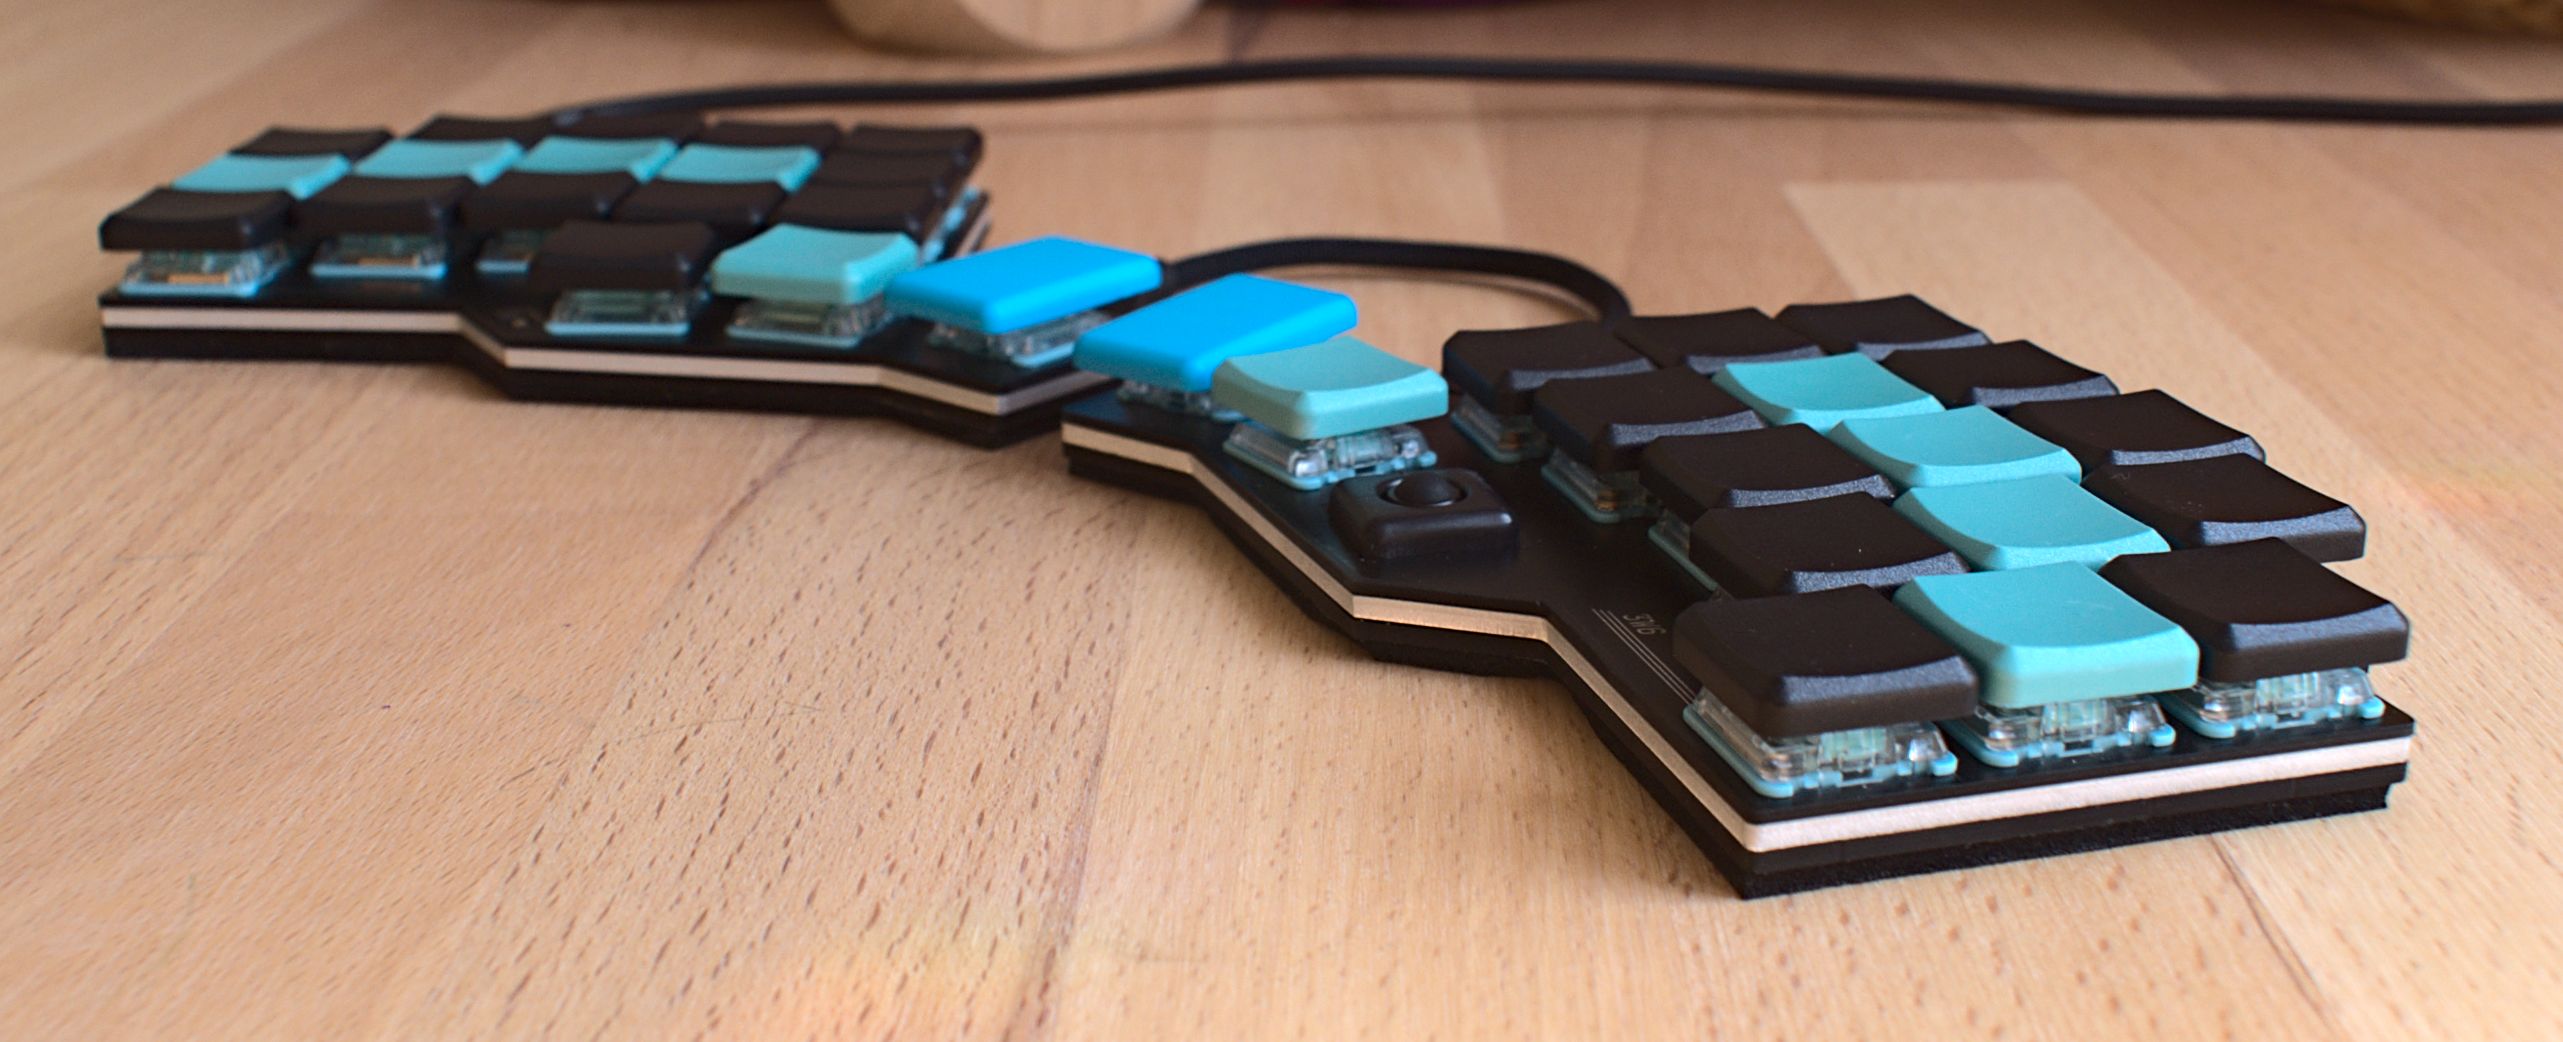
- The 3w6 is a low profile, split ortholinear keyboard with 36 keys.
- * Rev2:
- - onboard microcontroller (ATMega32U4)
- - USB-C connector Board <-> PC
- - USB-C connectors between both split halfs
- - choc spacing (18x17mm)
- - aggressive pinky stagger
- - support for Choc V1 switches
- - files for midplate (1.6 to 2mm)
- - support for [Pimoroni Trackball](https://shop.pimoroni.com/products/trackball-breakout) instead of outer thumb switch on right half, needs midplate
- - mounting holes for [Tenting Puck](https://splitkb.com/collections/keyboard-parts/products/tenting-puck), only usable without mid or switchplate
- ---
- * Keyboard Maintainer: [weteor](https://github.com/weteor)
- * Hardware Supported:
- * 3w6 rev2 (with Pimoroni support)
- * Hardware Availability:
- * make one yourself: [Design and Productionfiles](https://github.com/weteor/3w6)
- * maintainer is selling kits when available
- ---
- To reach the bootloader, connect the board to the PC and push the reset button on left half.
- Make examples for this keyboard (after setting up your build environment):
- make 3w6/rev2:default
- make 3w6/rev2:default_pimoroni
- ---
- See the [build environment setup](https://docs.qmk.fm/#/getting_started_build_tools) and the [make instructions](https://docs.qmk.fm/#/getting_started_make_guide) for more information. Brand new to QMK? Start with our [Complete Newbs Guide](https://docs.qmk.fm/#/newbs).